Be playful
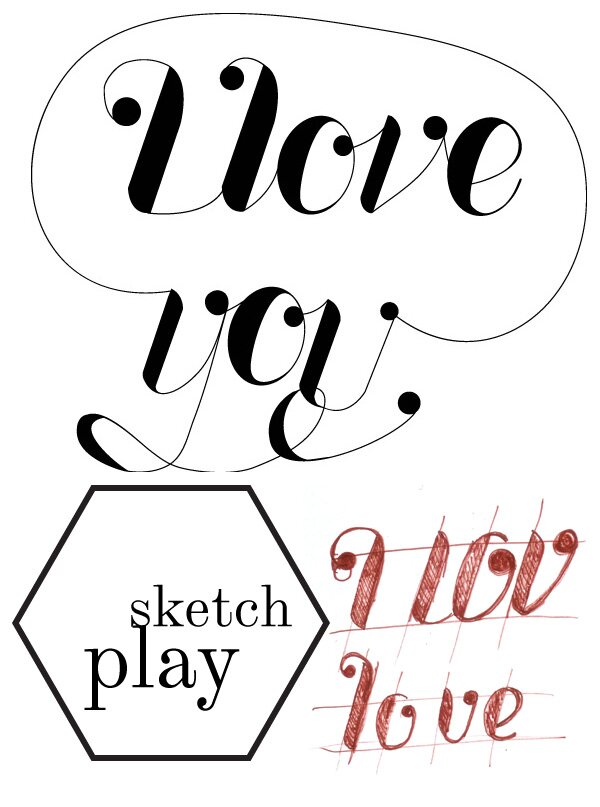
I’d like to encourage you to look at things you love on the internet and to play with the inspirations to create your own works of art. On the photographs below I used the new skills I learned from Neil Tasker regarding lettering and the skills I learned from Kim Thomas regarding product photography during two classes that I took on Skillshare.


To remember the new skills I will outline the two important things I learned from each course here:
a) LETTERING
- Start with guide lines. These are horizontal lines to draw your letters on. Also add a slant line for the slant of the letters. The letter spacing is spontaneous (use your gut feeing for that).
- Sketch with pencils.
- Scan your drawing and trace using Illustrator.
- In Illustrator first draw a point. The the second point needs to be dragged to form a curve before letting go of the mouse. When you’re happy with the result let go of the mouse.
- To convert lines to shapes with a fill, select the objects and use the command: Object>Path>Convert (make sure that both outline and fill are selected).
- Then use the pathfinder tools to combine the shapes.
- Work on details until you’re happy with the finished lettering.

b) PRODUCT PHOTOGRAPHY
- Start with a custom white balance.
- Set up a stage near a window with a backdrop. I used two moveable wallpapers one as a table top and the other as a back wall. Beside the object I placed a white folder to reflect the light back on the object.
- Put your camera on a tripod and use a remote control.
- Set ISO to 100, use a high f-stop if you want the depth of the object to be sharp.
- Then select the shutter speed. Select the shutter speed so the product is over exposed. This is better for product photography.
- Once you have the photo on the screen save it on your computer.
- Correct the brightness and curves before you start to work on the backdrop colour.
- If you want the background totally white use a gradient tool (white to transparent gradient) and masks in Photoshop and paint the background behind the image to make all corners totally white.
That’s it.

I hope you have fun with your experiments. Let me know what you did!
Lots of love
This post is also available in: German


 Nina Levett creates edgy and provocative tableware and textiles. This blog is about her design process and graphics, ornaments, patterns and inspirations.
